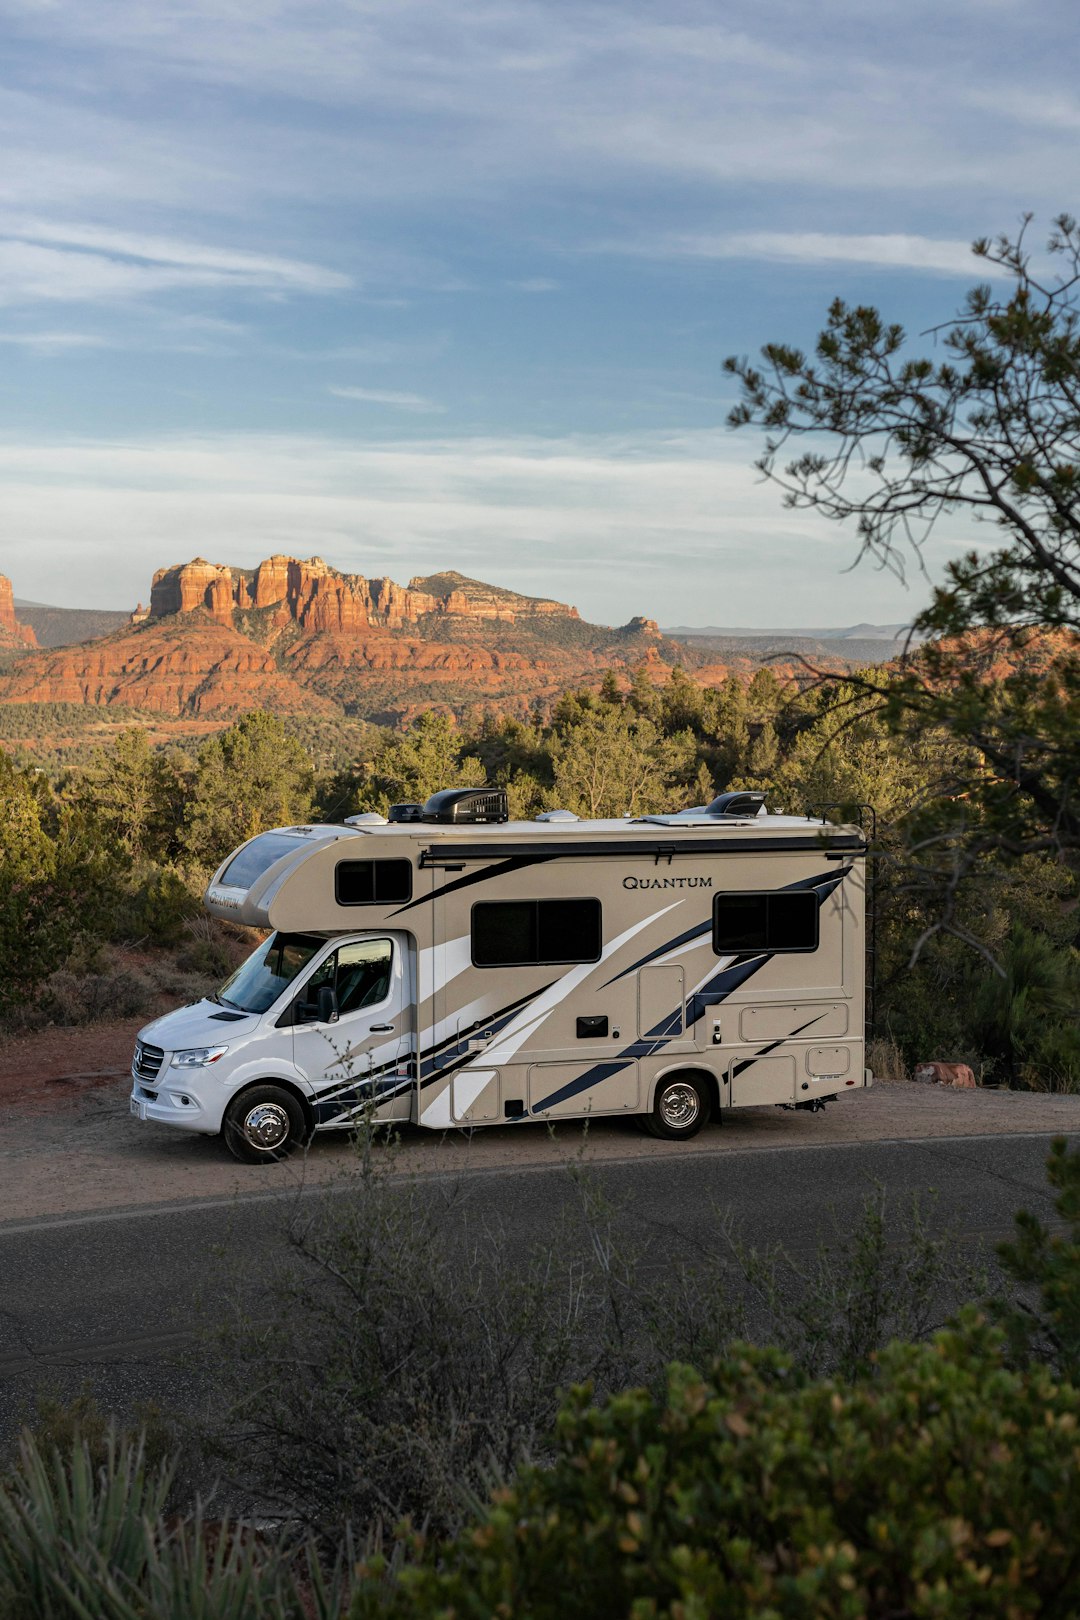

Start by identifying the roof substrate. Common materials include coated metal, fiberglass, and flexible single ply membranes, and they do not all accept the same products. A coating that bonds to clean, lightly prepared metal may need a primer on an aged membrane or fiberglass surface. Review the product technical data sheet rather than relying only on the label on the container. It should state the approved substrates, surface preparation, primer requirements, application temperatures, and compatibility with existing sealants. If the instructions do not address the roof material on your RV, pause the project and obtain written guidance from the manufacturer or use a different system.
A thorough inspection also separates a repairable surface from a replacement project. Press around vents, skylights, air conditioner mounts, and roof edges, but do not walk across a section that flexes or feels spongy. Bubbling membrane, rotten decking, loose layers, and wet insulation need attention beneath the surface. Applying a liquid layer over those defects may hide the extent of the damage and make later diagnosis harder. Check the underside of the roof inside cabinets and ceiling panels for staining or softened material. A small inspection hole or removed fitting should be resealed according to the relevant repair instructions, not simply covered with coating.
Flexible, elastomeric coatings can suit roofs that expand, contract, and flex during travel, since the cured film has some ability to accommodate movement. That flexibility does not replace sound seam work. Clean and repair joints first, then detail the areas around penetrations, fasteners, vents, skylights, air conditioners, and termination bars. Read descriptions of the best rv roof coating options with the actual roof material in mind. A coating is one part of a waterproofing assembly, not a substitute for failed sealant, open flashing, damaged decking, or a membrane that has lost its bond.
Preparation often determines whether the finished surface remains attached. Remove dirt, grease, loose coating, oxidation, and friable material using the method specified by the manufacturer. A pressure washer can drive water into seams or damage an aging membrane, so lower pressure and controlled rinsing may be more appropriate. Allow the roof to dry fully, including joints and depressions. Before mixing or opening containers, check the weather forecast and mark the time of application in a work log. That small habit helps you verify the recoat window and cure period instead of guessing from memory the next morning.
The recoat window is the period in which a second layer can bond properly to the first. Cure time is different: it is the time needed before rain, foot traffic, or travel can safely expose the material to use. Cool conditions, high humidity, and limited airflow may extend curing, depending on the product. Do not assume that a surface that feels dry is ready for driving. Follow the stated application thickness, since a layer applied too heavily may cure unevenly. Protect vents and fixtures with masking materials that will not leave adhesive residue, and remove them before the coating fully hardens.
Water management deserves its own check. Ponding occurs where water remains after rain, often because of a low area, blocked drain path, or roof sag. A coating may tolerate limited standing water if its technical data says so, but it cannot correct structural settlement or create a slope. Inspect gutters, edge drainage, and the condition of nearby flashing. A reflective finish can reduce solar heat absorption, while resistance to ultraviolet exposure may help the coating withstand sunlight. Treat those features as selection criteria, not proof that a product will solve every leak. The technical sheet should also address exposure, thickness, temperature limits, and cleaning requirements.
For contractor work, request a written scope that lists cleaning, removal of failed material, substrate repairs, priming, seam treatment, coating coats, fixture protection, and final inspection as separate items. Ask how soft areas will be documented and whether excluded repairs will be photographed. A do it yourself project needs the same discipline: measure the roof, allow for the specified number of coats, stage tools before the surface is wet, and plan access without stepping on fragile sections. Reviewing rv roof waterproofing methods can help distinguish a complete liquid membrane system from a paint like covering, while the roof condition and manufacturer instructions determine whether either approach is appropriate.