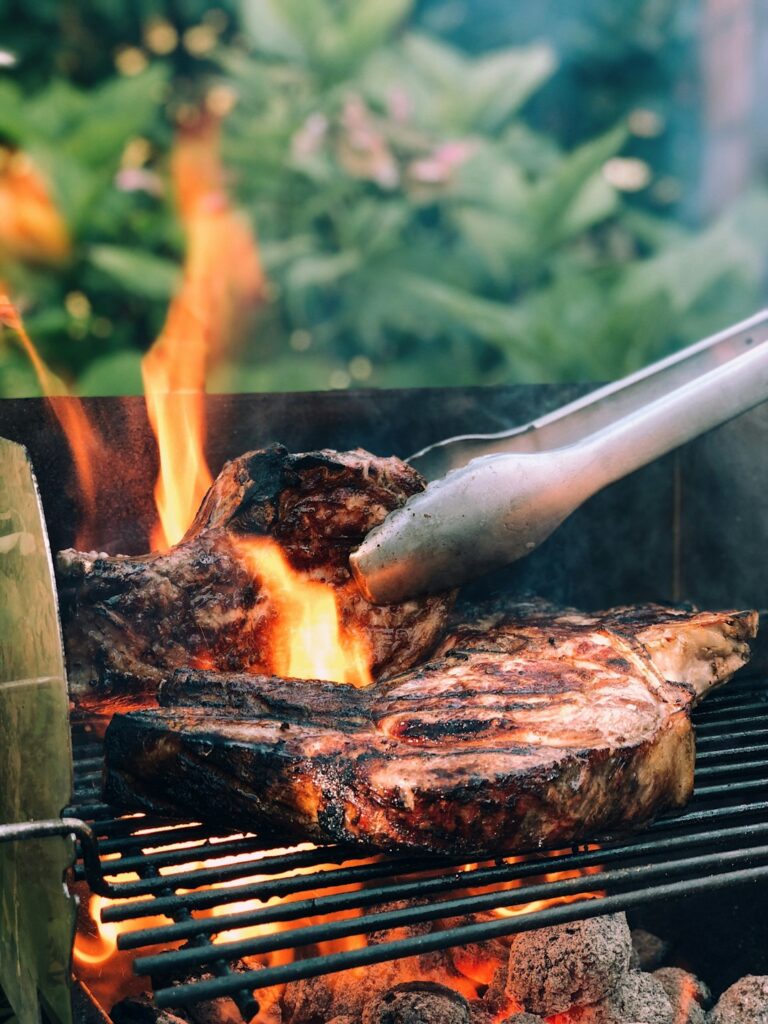

Begin by creating two heat zones. Bank the coals beneath one side for direct cooking, where food sits above the fire and browns quickly. Leave the opposite side clear for indirect cooking, where food is heated beside the coals. This simple arrangement makes a charcoal grill easier to manage. Thin burgers or vegetables can be seared over the hot section, while thick chicken pieces can start on the cooler side. If fat ignites, move the food away from the flames instead of trying to rescue the entire meal at once.
Lighting fuel should be used exactly as its packaging directs, and charcoal should not be judged by the clock alone. For most grilling, the initial lighting stage has settled when much of the fuel is covered in pale grey ash and the heat looks reasonably even. A few darker pieces do not necessarily matter, but thick smoke is a sign that the fire is still developing. Add extra charcoal sparingly during a long cook, preferably at the edge where it can catch gradually. A sudden heap of fresh fuel can create an unwanted surge of heat and smoke.
The vents provide the main temperature control. Air enters through the lower vent and hot gases leave through the upper one, so opening the vents generally encourages a hotter fire while restricting them gradually reduces oxygen. The response is not instant. Make one small adjustment, wait, then check the temperature again rather than moving both controls repeatedly. A cook who leaves every vent wide open may find the grill racing past the intended heat. Keep the lid closed between checks, since lifting it releases heat and makes the next reading less useful.
A whole chicken shows why zone cooking matters. Direct heat can brown the skin rapidly while the meat near the bone remains undercooked. Positioning the bird over the cooler section lets the thicker parts warm through more gently, with the lid holding hot air around the food like a basic oven. A drip tray can catch fat and help limit flare ups, provided it is used as the manufacturer recommends. Check the thickest section with a thermometer, keeping the probe away from bone. Colour alone is an unreliable guide to doneness.
The working area deserves the same attention as the fire. Keep raw meat on its own tray, reserve a clean plate for cooked food, and use separate utensils where practical. That small habit prevents the familiar last minute shuffle in which cooked kebabs are placed on the plate that held raw chicken. Long handled tools and heat resistant gloves make repositioning food safer. Set the grill on a stable surface where smoke will not gather around doors, windows or seating. For planning an outdoor cooking area, allow room for preparation, serving and safe movement rather than measuring only the grill itself.
After cooking, leave the charcoal to cool in the manner specified by the grill instructions. Close or adjust the vents as directed, and remove ash only when the fuel and container are fully cold. Brush the grate using a method suitable for its material, since some surfaces need gentler care than others. A useful pre meal habit is to set a phone timer for the first temperature check and place the thermometer beside the clean serving plate. Lighting earlier, arranging two zones and separating food handling before guests arrive leaves fewer rushed decisions once the cooking begins.